Mattress Stitch: My Go-To Technique for Seamless Finishing
Have you ever finished a hand-knitted toy, only to feel frustrated by messy seams? I’ve been there too! When I first started making toys, I struggled to make my joins look neat and professional. Honestly, I don’t mind if my toys end up a bit quirky or imperfect—in fact, I think that’s part of their charm. Even when I use the mattress stitch, I’m not aiming for absolute perfection, and I wouldn’t call myself a pro at it. For me, it’s more about enjoying the process than making everything look flawless.
Still, there are some basic steps to the mattress stitch that show how it’s supposed to be done, and I’d like to walk you through them.
What Is the Mattress Stitch in Knitting?
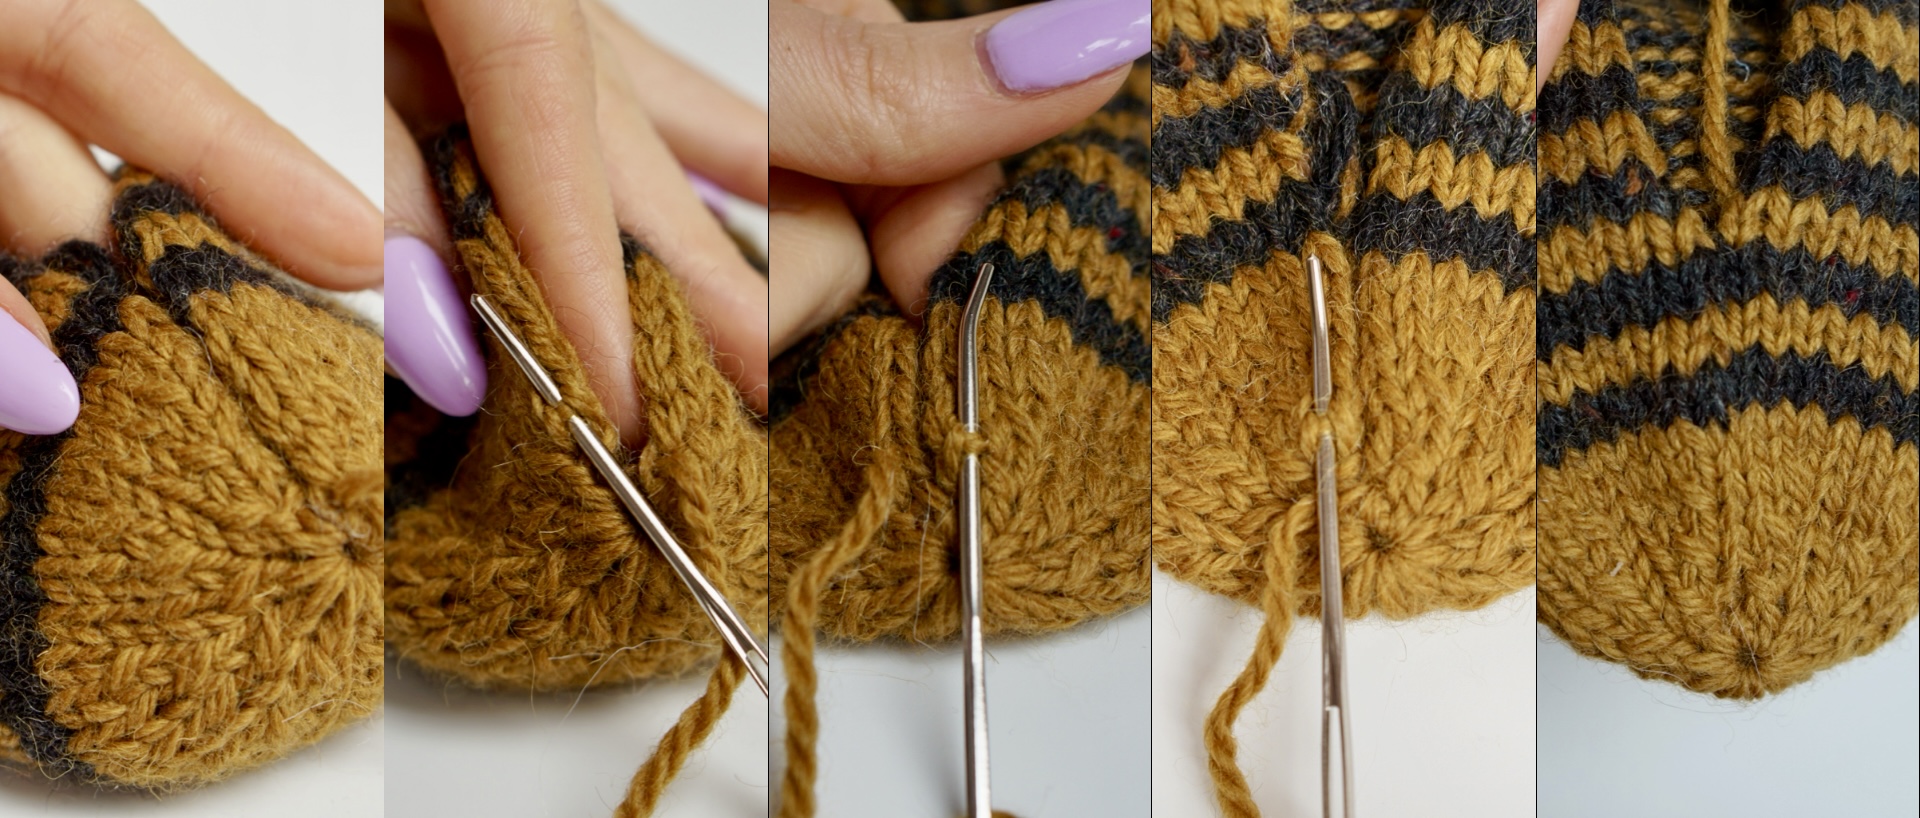
The mattress stitch is a type of knitting seam used to join two pieces of knitted fabric. Most of the time, I use it for joining pieces made with stockinette stitch. This technique is worked with the right sides facing you, which gives you full control and a clear view of how the seam is forming.

The mattress stitch creates a smooth, edge-to-edge finish that holds its shape and blends in with the stitches around it.
Why I Always Use the Mattress Stitch
1. Invisible Seams That Look Nice.
The biggest reason I love the mattress stitch is its magic ability to disappear.
2. Strong, Flexible, and Secure
Hand-knit toys are often handled, squeezed, and loved a lot. That’s why durability matters. The mattress stitch creates a seam that’s strong but flexible, perfect for joining stuffed parts like arms, legs, and heads without distorting the shape.
3. Versatile for All Types of Projects
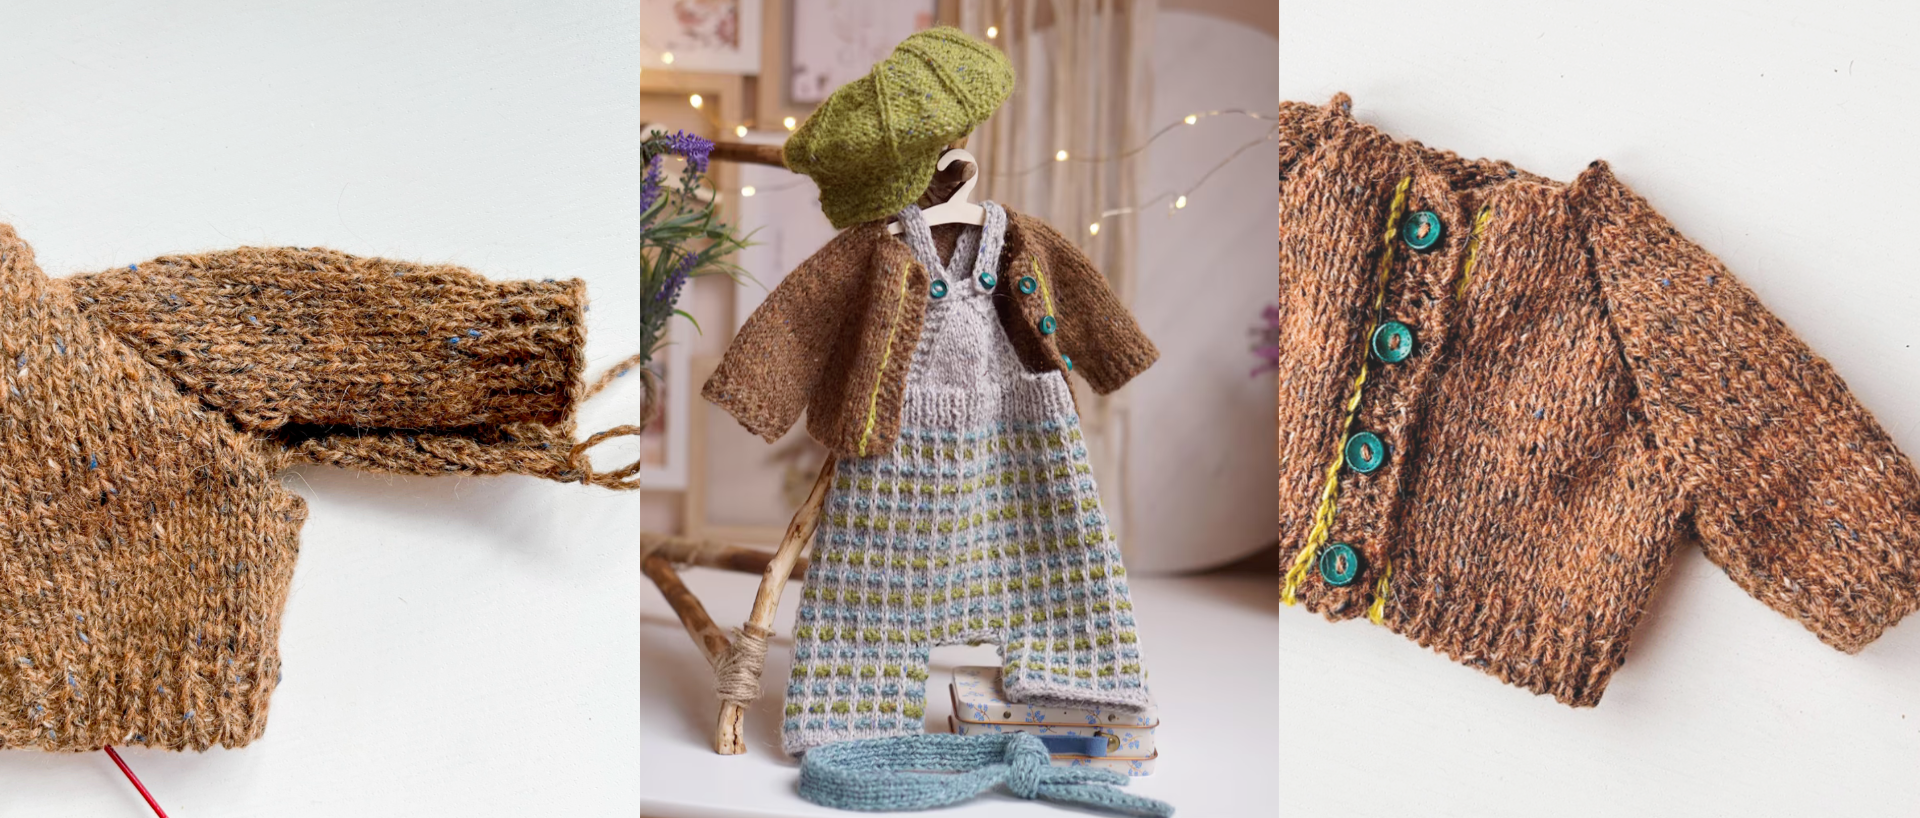
Though I mainly use this stitch for toy-making, it’s equally effective for finishing hand-knit garments.
Whether I’m making a soft bunny or a cozy cardigan, the mattress stitch is always part of my toolkit.
Where I Use the Mattress Stitch Most
If you’re wondering where to apply this stitch, here are some of my favorite uses:
• Toy Body Parts: Perfect for seaming bodies, arms and legs.
• Garment Seams: Great for joining knitted sweater pieces like side seams and sleeves.
• Any Stockinette Edge: Creates a flawless edge-to-edge join that blends with your knitting.
How to Do the Mattress Stitch: Step-by-Step Tips
Learning how to do the mattress stitch is easier than you might think. Here are a few essential tips to get you started:
Prepare Your Pieces
Lay your knitted pieces side by side with the right sides facing up. Line up the edges you want to join.
Thread the Yarn
Cut a length of yarn (about 2–3 times the length of the seam). Thread it onto a blunt (tapestry) needle. If possible, use the same yarn you used to knit your pieces for the best match.
Locate the “Bars”
Look for the horizontal strands (“bars”) that run between each stitch at the very edge of your fabric. You’ll be picking these up with your needle.
Start the Seam
Insert the needle from back to front under the first bar between the edge stitch and the next stitch on one piece. Then, move to the other piece and pick up the corresponding first bar in the same way.
Alternate Sides
Next, insert your needle under the next bar on the first piece, then under the next bar on the second piece, and continue alternating from side to side.
Tighten as You Go
After every couple of stitches, gently pull the yarn snug. This closes up the seam, but don’t pull so tightly that the fabric puckers.
The seam should look almost invisible from the right side.
Finishing
When you reach the end, weave in your ends securely on the inside of your work.
Find the duck knitting pattern here
As a designer, I see finishing not just as the last step, but as part of the creative process. The mattress stitch gives me the control I need to bring my toys and garments to life with intention and care.
If you're looking to improve your knitting finishing techniques, this stitch is a game-changer. Whether you're seaming small limbs on a toy or joining the side seams of a sweater, the mattress stitch will make your work look clean and durable.
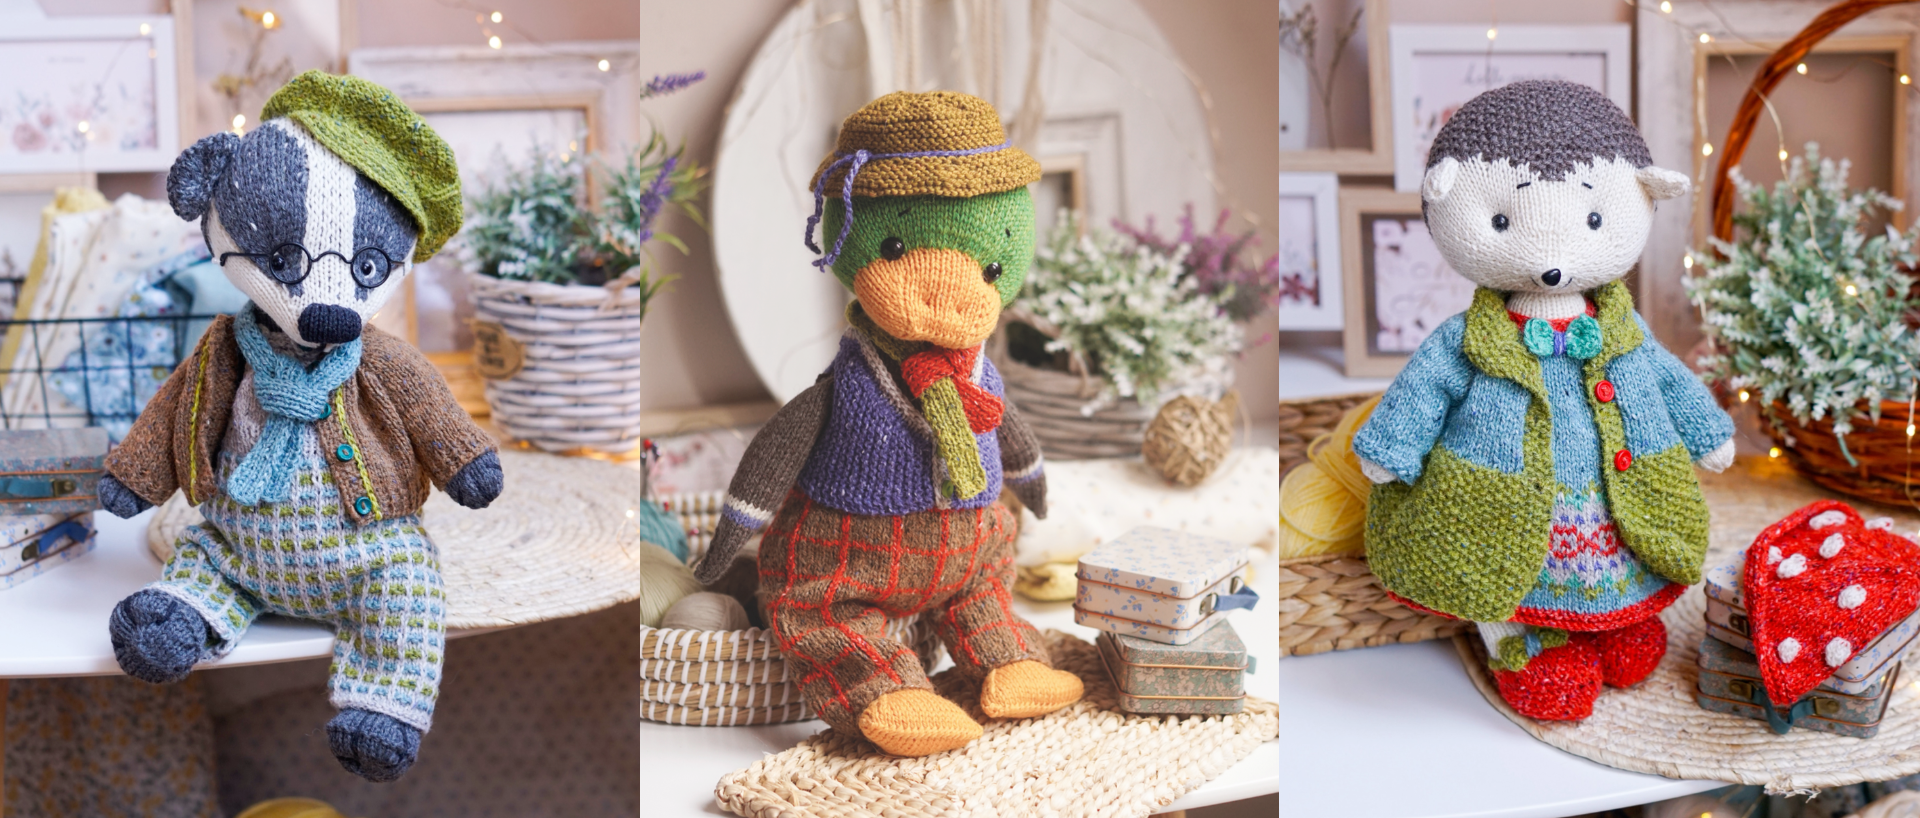
Benedict Brushwood the Badger on Etsy | Benedict Brushwood the Badger on Ravelry
Darwin Dapperquill the Duck on Etsy | Darwin Dapperquill the Duck on Ravelry
Mrs.Prickly-Thistle the Hedgehog on Etsy | Mrs.Prickly-Thistle the Hedgehog on Ravelry
Best regards, Mariia!
I'd love for you to follow me on Instagram
YouTube | TikTok | Pinterest | Facebook private group for sharing your works


Hi i'm Helma
Love these patrans and technique's