Let's knit this pumpkin together! Free Knitting Pattern & Video Tutorial
4 Strand Plait Style Knitted Pumpkin ♥
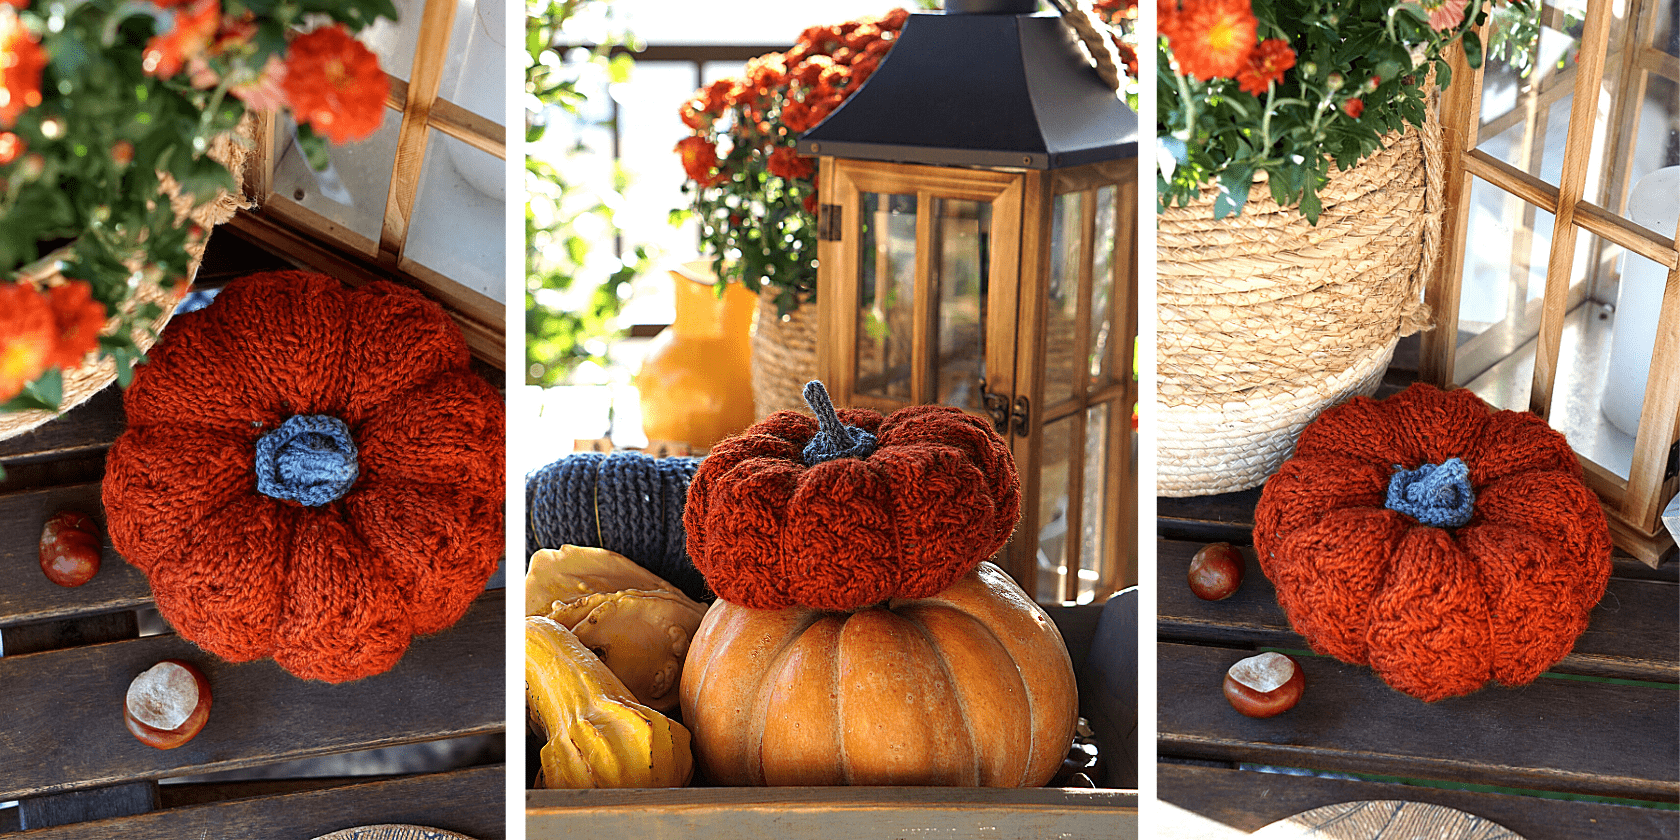
This year fall has been a great inspiration to me. I cannot get enough of decorating my house with bright autumn colors. Fresh flowers and vegetables, sofa and armchairs throw, tiny vases and crochet/knitted vegetables – I have got it all.
First, I had a plan to make just a couple of it, but suddenly, these charming pumpkins just have bewitched me, and now I can’t stop! There are tons of pumpkins in my knitted/crochet garden, enough to arrange a pumpkin fair. Follow my challenge for pumpkin making! Hope my knitted pumpkins bring lots of joy into your home and give your house more happy, sunny, pumpkin energy.

Yarn type, weight, its lengths/weight parameter does not matter! You can use any you have there. Choose the one that is comfortable to knit with. You can make a huge, pillow sized pumpkin, or go for a tiny, baby pumpkin - it really doesn’t matter! Your knit inspiration and desire are the only things that matter today! Agree?
Let’s start? 😀
I hope you enjoy!
Don't forget to SUBSCRIBE to have a free PDF knitting pattern! or, if your are the member, please, check your account, the PDF file is already there! 😘
if any questions or doubts come up please feel free to ask, just leave a comment under the post, I'm happy to help or just to chit chat ♥
| 4 Strand Plait Style Knitted Pumpkin by POLUSHKABUNNY (Maria Ermolova)
| this pumpkin is worked flat and seamed. Ø Size of the finished pumpkin is about 15-16cm.
You need: straight or circular needles 4 mm; I used Cascadas 220 Yarn (100% Peruvian Highland Wool; Weight: 100g (3.5 oz);Approx. Yardage: 220 yds(200m)) total weight of the yarn for the rib part is about 30g, and for the blossom end and the stem is about 8g. Fiber-fill Stuffing weight is about 8-10g for this size pumpkin.
------------------------
ABBREVIATIONS & DESCRIPTIONS:
I'm a continental style knitter, but the pattern is pretty simple and the abbreviations are similar for any knitting style just make it in your knitting style way.
|St(s)| - stitch/es
|Edge st.| - Edge stitch (slip first stitch. For right-side rows, slip the first stitch with the yarn in front. For wrong-side rows, slip the first stitch with the yarn in back. Always slip the stitch purl-wise so you don't twist the stitches. This way, you end up with a tidy border that looks the same on the front and the back.
|Cast On| - Pattern uses Long Tail Cast On Method
|P / Purl| - P urled stitch / Purl all stitches till end
|K /Knit| - Knitted stitch /Knit all stitches
|sl st| - slip stitch
|M1| - Make one increase; take the left-hand needle and pick up the bar between the stitches from front to back; use the right needle to knit this bar through the back loop.
|K1 f&b| - Increase: knit 1 in the front and back loop of the same stitch (This increase is worked by knitting into the front of the stitch, leaving that stitch on theleft needle and then knitting the same stitch again through the back. The stitch is then dropped from the needle)
|sk st| - skip stitch
|sk st| - skip stitch
|C4F| - Cable 4 Front: Cable 4 Front is worked over 4 stitches (that is where the number 4 comes from). 1) Slip 2 stitches onto the cable needle; 2)Place cable needle in Front of your work; 3)Knit the 2 stitches from your regular needle: 4)Knit the 2 stitches from the cable needle.
|C4B| - Cable 4 Back: Cable 4 back is worked over 4 stitches (that's where the number 4 comes from). 1) Slip 2 stitches onto the cable needle; 2)Place cable needle in Back of your work; 3) Knit the 2 stitches from your regular needle; 4) Knit the 2 stitches from the cable needle.
|Nx…| - repeat N times (for example, 2xC4F - repeat C4F two times)
|K2tog| - knit 2 stitches together
|RSR/WSR| - right side row/wrong side row
|rep| - repeat
|*(...)from*rep xN| - all stitches in brackets from * repeat N times
------------------------
VIDEO TUTORIAL: How To Knit 4 Strand Plait Pattern used for my knitting pumpkin pattern
KNITTING PUMPKIN PATTERN:
| STEP 1 | Ribs - Main Part (Even rows = WSR; Odd Rows = RSR)
| Row 1 | Cast on 26 sts. Leave long tail for seaming | 26
| Row 2 | Edge st., 25P | 26
| Row 3 | Edge st., *(K, M1, 2K)from*rep x8, P | 34
| Row 4 | Edge st., 33P | 34
| Row 5 | Edge st., *(P, 2K, M1, K) from*rep x8, P | 42
| Row 6 | Edge st., *(4P, K) from*rep x8, P | 42
| Row 7 | Edge st., *(P, 2K, M1, 2K) from*rep x8, P | 50
| Row 8 | Edge st., *(5P, K) from*rep x8, P | 50
| Row 9 | Edge st., *(P, 3K, M1, 2K) from*rep x8, P | 58
| Row 10 | Edge st., *(6P, K) from*rep x8, P | 58
| Row 11 | Edge st., *(P, 3K, M1, 3K) from*rep x8, P | 66
| Row 12 | Edge st., *(7P, K) from*rep x8, P | 66
| Row 13 | Edge st., *(P, 4K, M1, 3K) from*rep x8, P | 74
| Row 14 | Edge st., *(8P, K1 f&b) from*rep x8, P | 82
| Row 15 | Edge st., *(2P, 4K, M1, 4K) from*rep x8, P | 90
| Row 16 | Edge st., *(9P, 2K) from*rep x8, P | 90
| Row 17 | Edge st., *(2P, 5K, M1, 4K) from*rep x8, P | 98
| Row 18, 20, 22, 24, 26, 28, 30 (WSR) | Edge st., *(10P, 2K)from*rep x8, P | 98
| Row 19 (RSR) | Edge st., *(2P, 2K, 2xC4F)from*rep x8, P | 98
| Row 21 (RSR) | Edge st., *(2P, 2xC4B, 2K)from*rep x8, P | 98
| Row 23 (RSR) | Edge st., *(2P, 2K, 2xC4F)from*rep x8, P| 98
| Row 25 (RSR) | Edge st., *(2P, 2xC4B, 2K)from*rep x8, P | 98
| Row 27 (RSR) | Edge st., *(2P, 2K, 2xC4F)from*rep x8, P | 98
| Row 29 (RSR) | Edge st., *(2P, 2xC4B, 2K)from*rep x8, P | 98
| Row 31 (RSR) | Edge st., *(2P, 2K, 2xC4F)from*rep x8, P | 98
| Row 32 | Edge st., *(10P, K2tog) from*rep x8, P | 90
| Row 33 | Edge st., *(P, 4K, K2tog, 4K) from*rep x8, P | 82
| Row 34 | Edge st., *(3P, P2tog, 4P, K)from*rep x8, P | 74
| Row 35 | Edge st., *(P, 3K, K2tog, 3K)from*rep x8, P | 66
| Row 36 | Edge st., *(3P, P2tog, 2P, K)from*rep x8, P | 58
| Row 37 | Edge st., *(P, 2K, K2tog, 2K)from*rep x8, P | 50
| Row 38 | Edge st., *(P, P2tog, 2P, K)from*rep x8, P | 42
| Row 39 | Edge st., *(P, K, K2tog, K)from*rep x8, P | 34
| Row 40 | Edge st., *(P, P2tog, K)from*rep x8, P | 26
| Row 41 | Edge st., Knit | 26
| Pull thread through the remaining stitches (we are going to tight it after stuffing)
| STEP 2 | Bottom part
| Row 1 | Cast on 26 sts | 26
| Row 2 | Edge st., Knit till last st, P | 26
| Row 3 | Edge st., *(K, K2tog, K)from*rep x6, P | 20
| Row 4 | Edge st., Knit till last st, P | 20
| Row 5 | Edge st., *(K, K2tog)from*rep x6, P | 14
| Row 6 | Edge st., Knit till last st, P | 14
| Pull thread through the remaining stitches and tighten. Leave long tail for sewing
| STEP 3 | Stem
| Row 1 | Cast on 32 sts | 32
| Row 2 | Edge st., Purl | 32
| Row 3 | Edge st., *(K, K2tog, 2K)from*rep x6, P | 26
| Row 4 | Edge st., Purl | 26
| Row 5 | Edge st., *(K, K2tog, K)from*rep x6, P | 20
| Row 6 | Edge st., Purl | 20
| Row 7 | Edge st., *(K, K2tog)from*rep x6, P | 14
| Row 8 | Edge st., Purl | 14
| Row 9 | Edge st., 6xK2tog, P | 8
| Row 10 | Edge st., Purl | 8
| Row 11 | 4x K2tog | 4
| Now using these 4 sts and 2 double pointed needles or crochet hook make an i-cord about 3 cm length |
| STEP 4 | Assemble and stuffing
| Sew the rib part edges (step 1) together using mattress stitch on the right side to make a tube; use the cast on yarn tail ( you have two openings now). Leave a long tail for sewing (about 40cm) and cut off the yarn.
| Attach the blossom end to the opening in whip stitch
| Tighten the other opening to make its Ø a bit smaller than the stem Ø. Stuff it; Seam the stem in mattress stitch on right side and attach the stem to the opening in running stitch.
| To make your pumpkin flatter pass the needle with the yarn through the stuffing (stem to blossom end) several times, tightening it a bit.
I hope you enjoy! ♥
Love, Maria
Patty pan Crochet Pattern -> Free Crochet Pattern and Video Tutorial
Pumpkin Craochet Pattern -> Free Crochet Pattern and Video Tutorial

YOU MAY ALSO LIKE Knitted Toy and its clothes TUTORIALS:
Rustic Stile Knitted Doll Outfit (knitting pattern and video tutorials)
Xmas Riedndeer Girl
Xmas Riedndeer Boy
Cute Doll Outfit (knitting pattern and video tutorials)
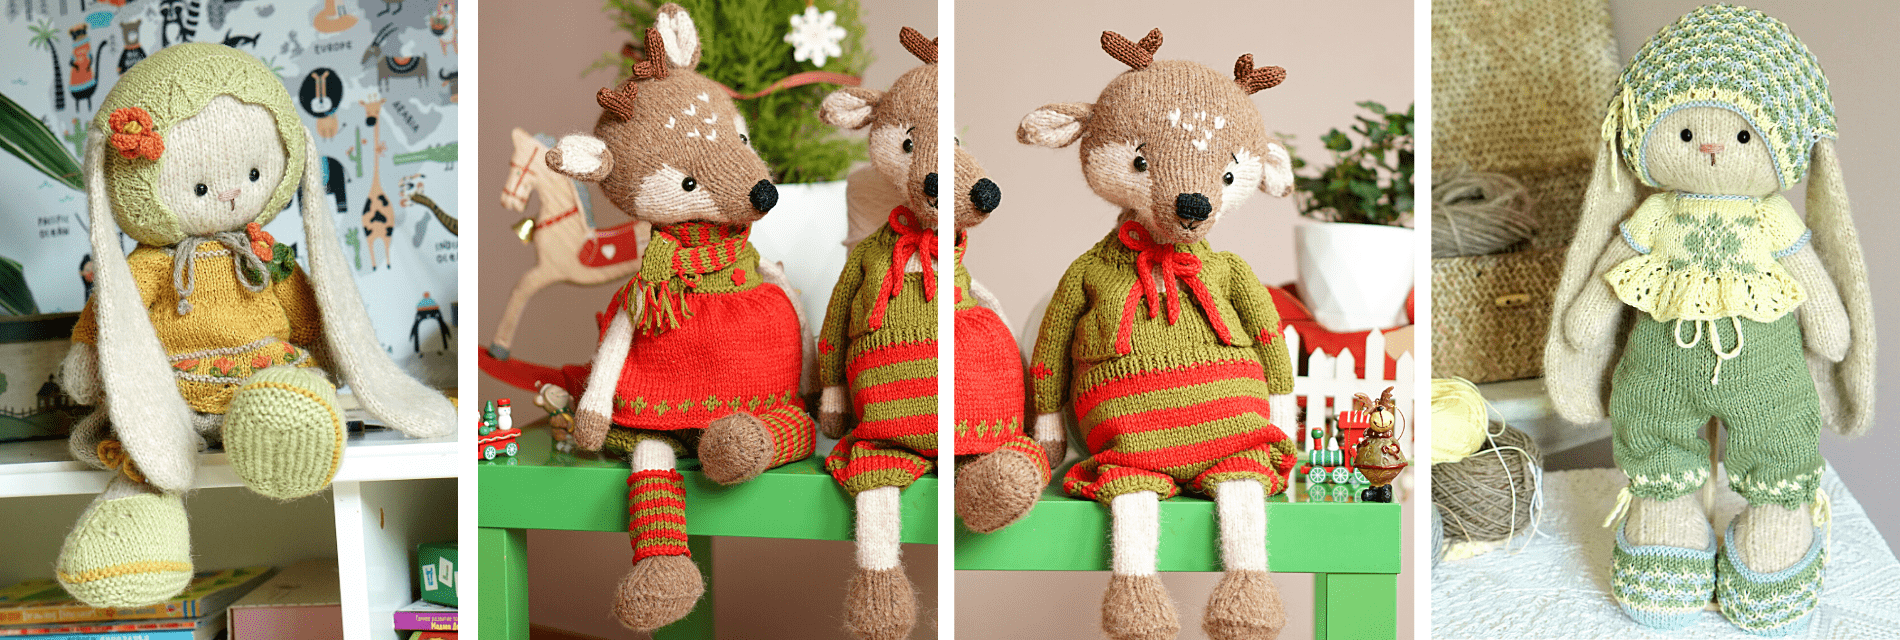
Crochet Doll Pattern - Outfit Kylie
Crochet Doll Pattern - Outfit Easter
Crochet Doll Pattern - Outfit Helga
Knitted Fox (Wolf) pattern&video tutorial
Knitted Teddy Bear Pattern&video tutorial
Xmas Riedndeer Boy

Enjoy my works on Instagram @polushkabunny
Hi, trying to find the actually pdf for the pumpkin knitting pattern.